Preparations for Colt Starting: 4 Exercises to gain your horse’s understanding and respect about direction [Video]
This is the fourth article with a detailed explanation of the “14 Preparations for a safe and respectful Colt Starting”.
To understand the whole concept behind it I recommend to read “14 Preparations for a safe and respectful Colt Starting” first.
Some thoughts about good steering
A few weeks ago, one morning I was out feeding our horses. On our ranch, we have a little utility vehicle which we use to get all kinds of jobs done.
Everything went as usual, when suddenly, on the last turn I had to take, the vehicle just kept going straight! I got so scared! No matter how I turned the steering wheel, nothing happened.
Luckily my reflex to hit the breaks was fast enough, otherwise, I would have crashed into a wall. Somehow the steering had broken.
When I start a horse, I sometimes imagine that I am assembling a car. It needs brakes and a gas pedal. And it needs steering. In the factory, all these elements are installed separately.
Of course, the comparison is not accurate. Horses are way more complex than cars and we can’t just “install” things into our horse, but we can teach them.
For our own safety and for our pleasure, we should take the time and teach the horse the necessary skills to have good “steering.” Don’t wait for the moment you discover that your steering is not well installed.
There are 2 components to control the direction of travel:
- The horse needs to understand the aids
- The horse needs to agree to let me control his direction of travel

Complicated things will become easy the more you refine your communication
Four Exercises to teach
Exercise #8: Yield the Shoulders
Exercise #9: Yield the Hindquarters
The first three are designed to help the horse to understand our aids from the very first ride on. They are all about teaching the horse to yield from steady pressure.
The last exercise will help you to get your horse's agreement to allow you control his direction of travel.
When doing any of the exercises, follow these 3 tips for success:
First Tip. Remember to use 4 phases of polite firmness
- Press the hair
- Press the skin
- Press the muscle
- Press the bone or double the pressure of phase 3
You always want to start as light as possible and end as strong as necessary.
Second Tip: Rub - Press - Rub
Rub your horse in a friendly way each time before you are going to apply pressure.
This will prepare your horse to accept touch and communication in this area.
A friendly rub afterwards will let him know that he was right and “erase” the pressure point.
Third Tip: Be as Dependable as a Fence Post
This means that you have to hold firm and steady until the horse moves.
Your horse would not lean for very long against something pointy and solid.
The harder the horse pushes, the harder the pressure will get. But, as soon as the horse stops leaning, the pressure is off.
The fence post doesn’t follow the horse. Like this, your horse will learn that it is up to him to find comfort and that he is able to do so through his own actions.
Exercise # 8: Yield the Shoulders
When we ask a horse to make a turn, he has to mobilize the shoulders. He should know how to respond to the leg and rein without resistance.
At first, you want to be able to move only the shoulders, without that the horse is moving forward and pivots with the hind feet.
Later one, as the communication advances, you can turn it into a spin, a turn on the haunches or even a pirouette.
Objective:
You can yield your horse's shoulder with light steady pressure for a full circle. The hindquarters are pivoting. Your horse understands that you are only talking to his shoulders.
Benefits:
- your horse learns to understand the aids to turn
- your horse becomes light and mobile in the shoulders
Material needed:
Halter, Leadrope, eventually stick
How to:
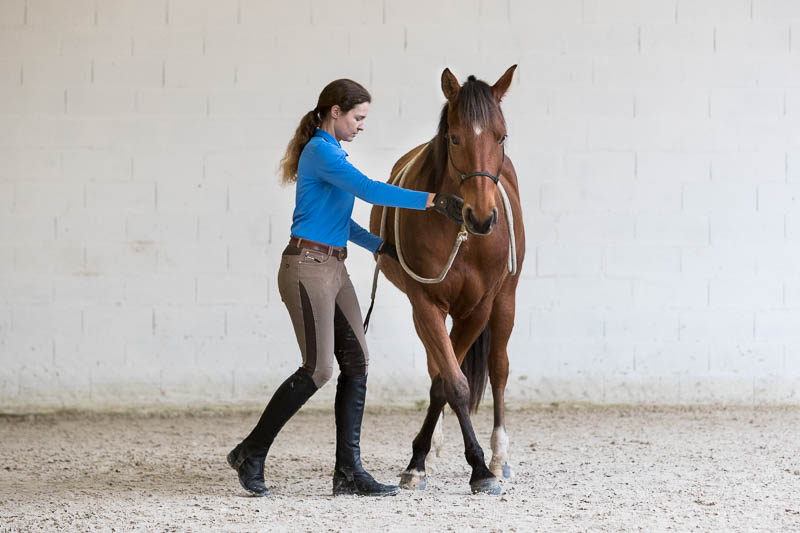
When you ask on the left side of your horse:
Stand next to your horse’s neck, facing your horse.
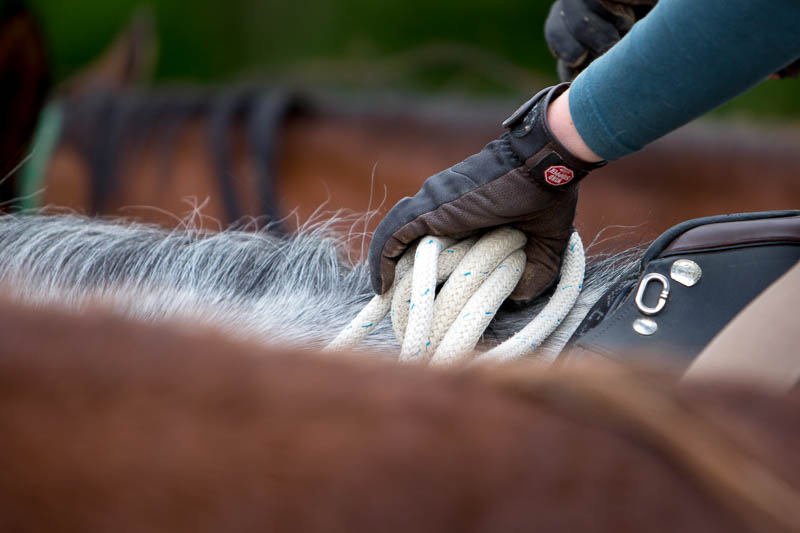
Fold the lead rope in half and lay it over the base of your horse's neck.
Place your right hand on your horse's shoulder and with your left hand hold the loop of the halter loosely.
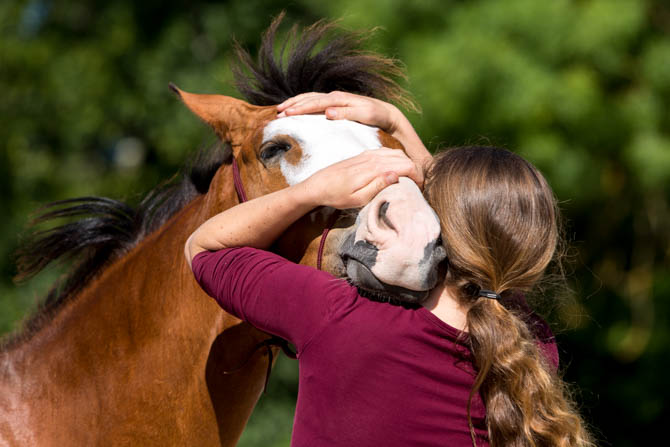
Push your horse's nose slightly over to the other side and start to apply pressure with your fingers on the shoulder.
Lock the joints of your fingers to make them stiff and strong.
Use steady pressure, don’t pulsate. Give your horse time to respond and trust the phases to work.
You want to release when your horses clearly cross one leg in front of the other.
As you progress, you can refine:
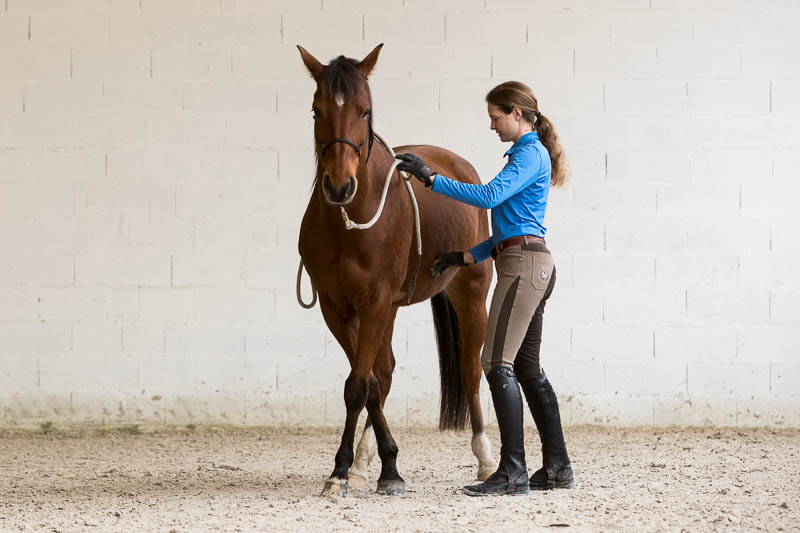
Instead of applying the pressure on the shoulder with your fingers, place the back of your hand where the cinch would be.
One day your leg will ask your horse to turn at this area.
Start to talk to each front leg separately: Give a little feel on the shoulder for the same-sided front leg to move, followed by a little feel on the halter for the other front leg to move.
This will simulate the way you will ask your horse to turn while riding.
What if:
Your horse walks forward and doesn’t pivot
Your horse should already know to yield backwards by pressure on the nose. As soon as you see your horse take a step forward, correct him by backing him up for 2 steps. Make sure, to always tip his nose slightly away from you.
Maybe your horse is moving forward because you are walking slightly forwards as well. Check your body position. You should always face your horse's neck. Release when your horse does one good step. Repeat several times.
Many young horses have problems to find the necessary balance on the hindquarters. Try to back up your horse for 2-3 steps, then yield the shoulders for 1-2 steps, followed by a backup.
This will help the horse to think about shifting his weight back and being light on the shoulders.
Your Horse Doesn’t Move and Is Very Heavy
Also heavy horses sense a fly on their body. So, first of all, don’t fall into the trap of neglecting phase 1!
Go through the phases progressively and make sure your phase 4 is effective.
To be sure to be as firm and steady as a fence post in phase 4, lock your elbow at your hips and use your thumb.
Then wait.
This will become uncomfortable for the most resistant horse at one point. You can, in case of severe persistence, tap lightly with your foot against your horse’s coronet.
Whenever you have to apply a long and strong phase 4, make sure to release instantly and to repeat until your horse responds with more lightness.
In case your horse is severely resistant, teach him to yield to rhythmic pressure first. Use your stick in rhythmic phases to teach him to yield the shoulders. In phase 4 you would touch the soft part of his muzzle.
Teach your horse first to yield to rhythmic pressure
Your Horse Walks Backwards
Move with your horse and don’t stop asking. Be more persistent than your horse without getting upset about it.
Any horse will try to find a different solution at one point. Backing up is not so much fun for them. Be sure that you push his nose away from you and that you are not accidentally pulling backwards on the halter loop.
Look out for the moment when your horse crosses one front leg in front of the other and release instantly. Repeat until the correct response comes faster.
Challenge yourself:
Can you:
- Yield your horse's shoulder for a full circle?
- Place your horse's hind feet into a hula hoop and yield the shoulders?
Exercise # 9: Yield the Hindquarters
When you have control over your horse’s hindquarters, you have control over his engine. Being able to ask your horse to cross his hind legs and to disengage is an essential skill for safety.
Your horse also learns that you can talk to one hind leg at a time. Later on, as your communication progresses, you can shape this exercise into, for ex., a Travers.
Objective:
You can ask your horse to yield his hindquarters with light steady pressure against his flanks for one full circle. He is turning on the inside front leg and crosses his hind legs with even steps.
Benefits:
- You have control over the hindquarters and the motor of the horse,
- You have established basic communication for later (Travers, turns)
Material needed:
Halter, Leadrope
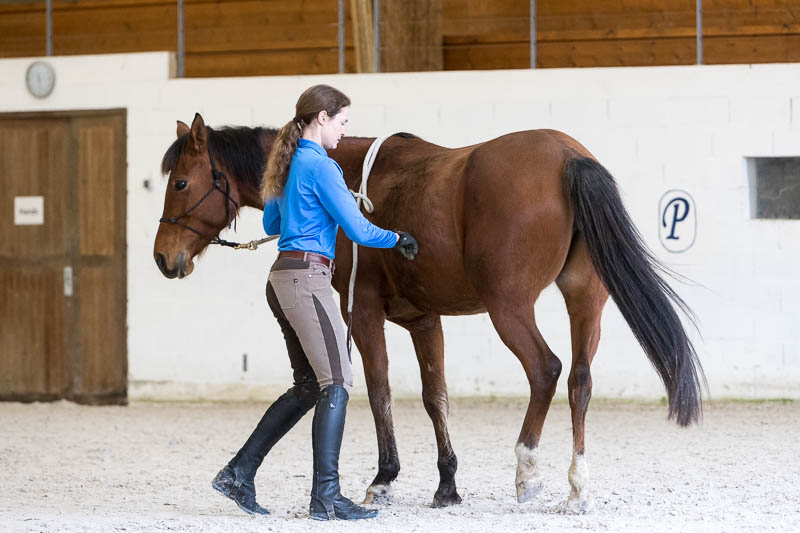
How to:
Stand facing at your horses' side, at the height of where the saddle would be.
The lead rope is folded in half, lying over the base of the horse's neck.
Ask your horse for lateral flexion first and wait until your horse is soft.
As you keep him bent, start to apply pressure in the back third of your horse’s flanks.
Respect the phases. Release as soon as your horse responds and crosses his hind legs.
Rub and repeat.
Refine as you progress:
When your horse gives a consistently light response, see if you can do this exercise without that you ask your horse for lateral flexion.
What if:
Your horse walks forward
Make sure to ask your horse to bend his neck and keep his nose with you. These positions make it easy for your horse to do the right thing.
Your Horse Doesn’t Cross With His Feet
Apply the pressure in timing with his foot. Give an impulse at the exact moment when your horse lifts his foot. This will cause him to make a bigger step. Repeat many times, so that your horse can get more coordinated.
Challenges:
Can you:
- Ask your horse to yield the haunches for one full circle without that you ask him for lateral flexion?
- Can you place your horses' front feet into a hula hoop and yield the hindquarters around without that the front feet step out?
Exercise #10: Yield Sideways
The better a horse understands what we are communicating, the less reason he has to worry.
When a horse goes sideways, he has to think. He simply can’t do it when he is not thinking and connecting with you.
Being able to ask a horse to go sideways has many practical reasons as well: Teaching a horse to bend on a circle, all lateral moves, opening a gate or picking up your jacket from the arena rail.
Objective:
You can ask your horse to drift a few steps sideways by applying light pressure with the back of your hand on his side where your leg would be.
Benefits:
- Thorough understanding of the riders leg aids,
- to teach the horse to bend on a circle later,
- opening gates
- mother of all lateral moves
- suppleness
Material needed:
Halter and 3,7m Leadrope
How to:
When you start to teach this exercise, your horse should already understand well to yield the haunches and the shoulders.
Check these two exercises right before you start teaching to yield sideways. This will prepare your horse mentally.
Place your horse facing a fence or wall at about a 75-degree angle.
Now start to apply pressure in the middle of his flanks - about the place where your legs would be when you ask a leg yield to your horse.
Wait and observe how your horse tries to figure out what you want. You can move your hand left or right according to what part of the horse needs to move more.
Release and reward as soon as you get a correct response.
Repeat until your horse starts to understand.
What if:
The horse doesn’t move/understand
In case your horse really doesn’t get it, go back and test how light he can yield the shoulders and the haunches.
Ask him to yield for one step the haunches, followed by one step of the shoulders. Soon he will understand.
Horse walks forward
Go back and place your horse facing a fence or wall.
The wall will help the horse to stop thinking forwards and find the only open door which is sideways.
Challenges:
Can you:
- yield your horse sideways from one cone to the next
- yield your horse sideways along a pole?
Exercise #11: Figure of Eight
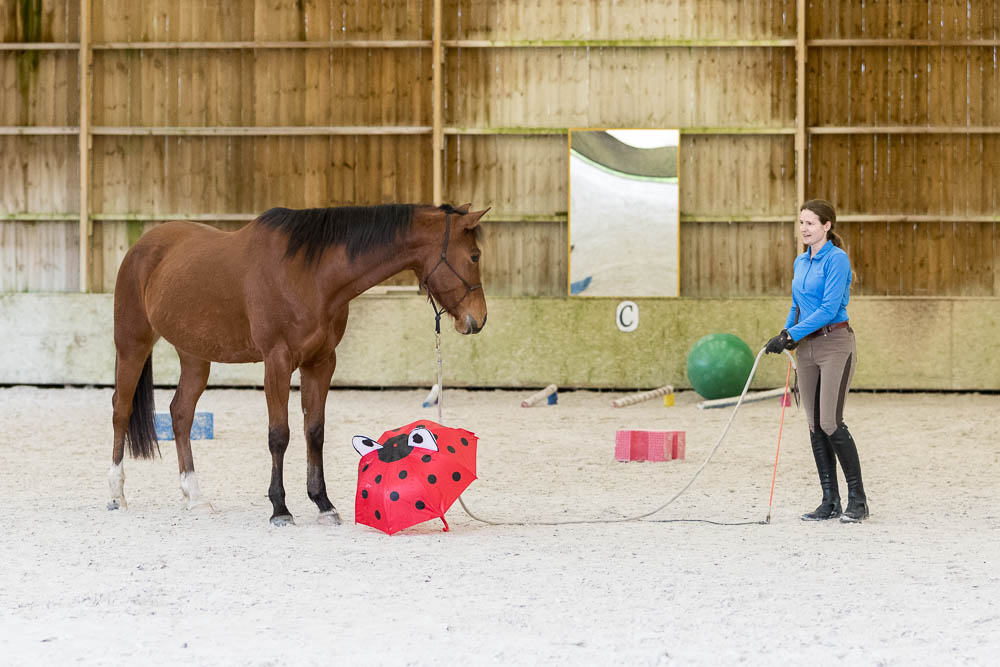
This exercise is fantastic to gain the horses respect and understanding that you are controlling his direction of travel.
There are two versions of the Figure of 8: With feel on the rope and with a loose rope. The first version is perfect to teach the exercise and to teach the horse to follow the feel of the halter.
The second version is to refine and to prepare for liberty.

Objective:
You can send your horse at the trot around two markers in a figure of eight without any resistance from your horse. Your horse follows willingly the feel of the rope on his halter.
Benefits:
- Your Horse accepts that you control his feet and direction of travel,
- Your Horse learns to follow his nose and the feel of the halter
- this prepares him well to understand the direct or opening rein aid.
Material needed:
Halter and 3,7 m Leadrope, 7 m rope (if you are good with your tools), two markers.
How to:
This exercise is the absolute recipe to get completely tangled with your tools if you don’t master them to perfection!
You obviously don’t want this to happen when you have your young horse at the end of the line.
So I strongly suggest that you do simulations first. Ask a good friend or family member to play horse for you.
Set up your markers about 4 -5 m apart for the walk and 7-8 m apart for the trot. Your position would be so that you form an equilateral triangle with the markers.
Always start at the walk first. Send your horse out on a circle, around the two markers.
Already before the second marker get ready with your tools: Secretly switch rope and stick in your hands.
If you do this, you will automatically hold the tools in the right way once you ask for the change of direction.
At the second marker, walk backwards to draw the horse around the marker towards you.
When you can see both eyes of your horse, send him in the new direction.
Support with your stick towards the horse's shoulders in a big circular movement and walk forwards as the horse commits to change direction.
At first, ask only for half a figure of eight. Let the horse do a full circle before you ask for the next change.
This gives you time to organize your tools and your thoughts. Only ask your horse to change direction when you are well prepared to avoid chaos and mess.
Once you get good at the walk, you can do this exercise at the trot.
What if:
Horse accelerates and runs straight when you ask him to change direction.
Keep the feel on the rope and keep walking/running back away from your horse's nose. This means: if your horse is running to the right, you would walk backwards in a spiral to the left.
This will draw your horse. Once your horse slows down and looks at you, let him come all the way to you. If you do this a few times, your horse will quickly be less excited about changing direction.
Your Horse breaks the trot or stops when you draw him.
Did you maybe ask to suddenly? Get your horse’s attention, maybe be saying his name, before you draw. Make sure that you walk backwards fast enough and far enough.
Make sure that you only walk forwards again once your horse decided to go in the new direction.
Slow everything down and be very friendly with your horse.
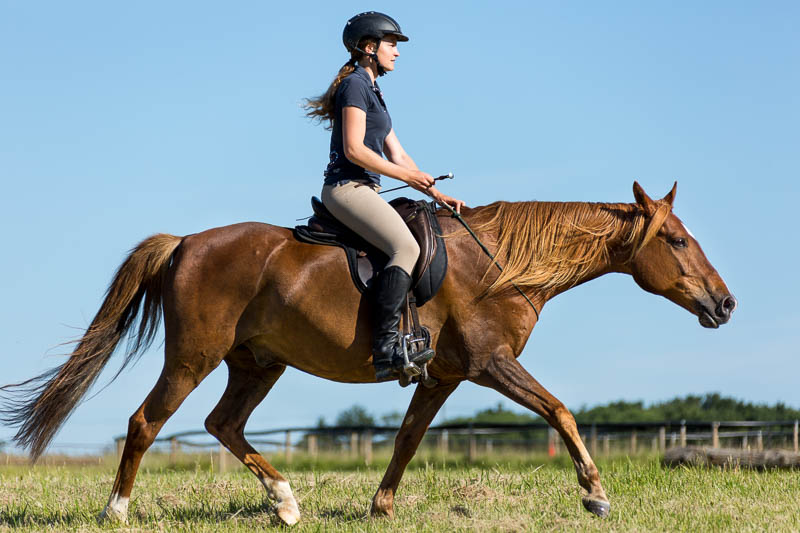
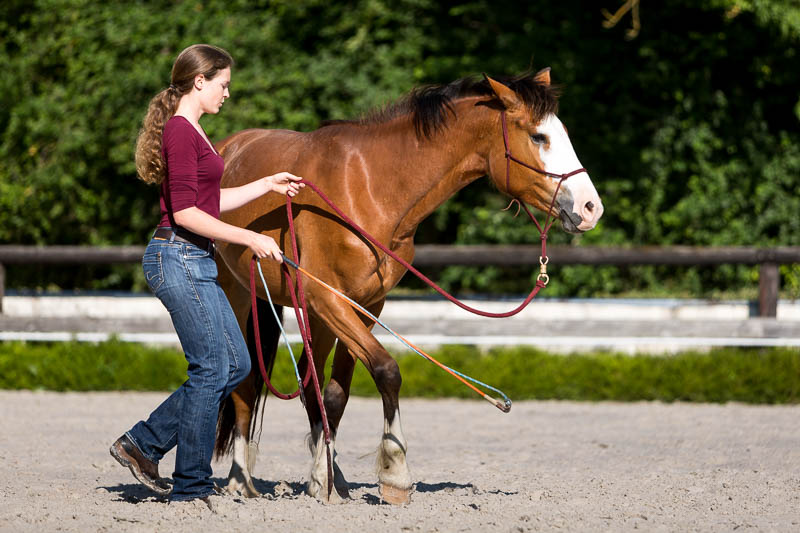
Even heavy horses can learn to be light and easy to steer
Challenges:
It is already challenging enough to do a complete figure of 8 at the trot without getting tangled up! If you master this, try this little fun game:
The double Figure of 8
Place four markers in a square. When you are using the 3,7 m rope, the markers should be about 4 m from the centre of the square.
When using the 7 m rope, you can place them up to 8 m from the centre. Now send your horse out on the circle, all around the markers.
Start to change directions around the markers. Have fun, and see how many "Figure of eights" you can do!
Conclusion
Taking the time to do things right sometimes takes a lot of time. But you can enjoy the benefits of your hard work in the future.
Having taught your horse these 4 exercises lays the foundation that your horse not only understands your aids once you ride him, but he will follow them willingly.
Be persistent and patient and take the time it takes! And most importantly: Don’t forget to praise your horse for every improvement!
This is what makes him want to do the things well!
Related Articles